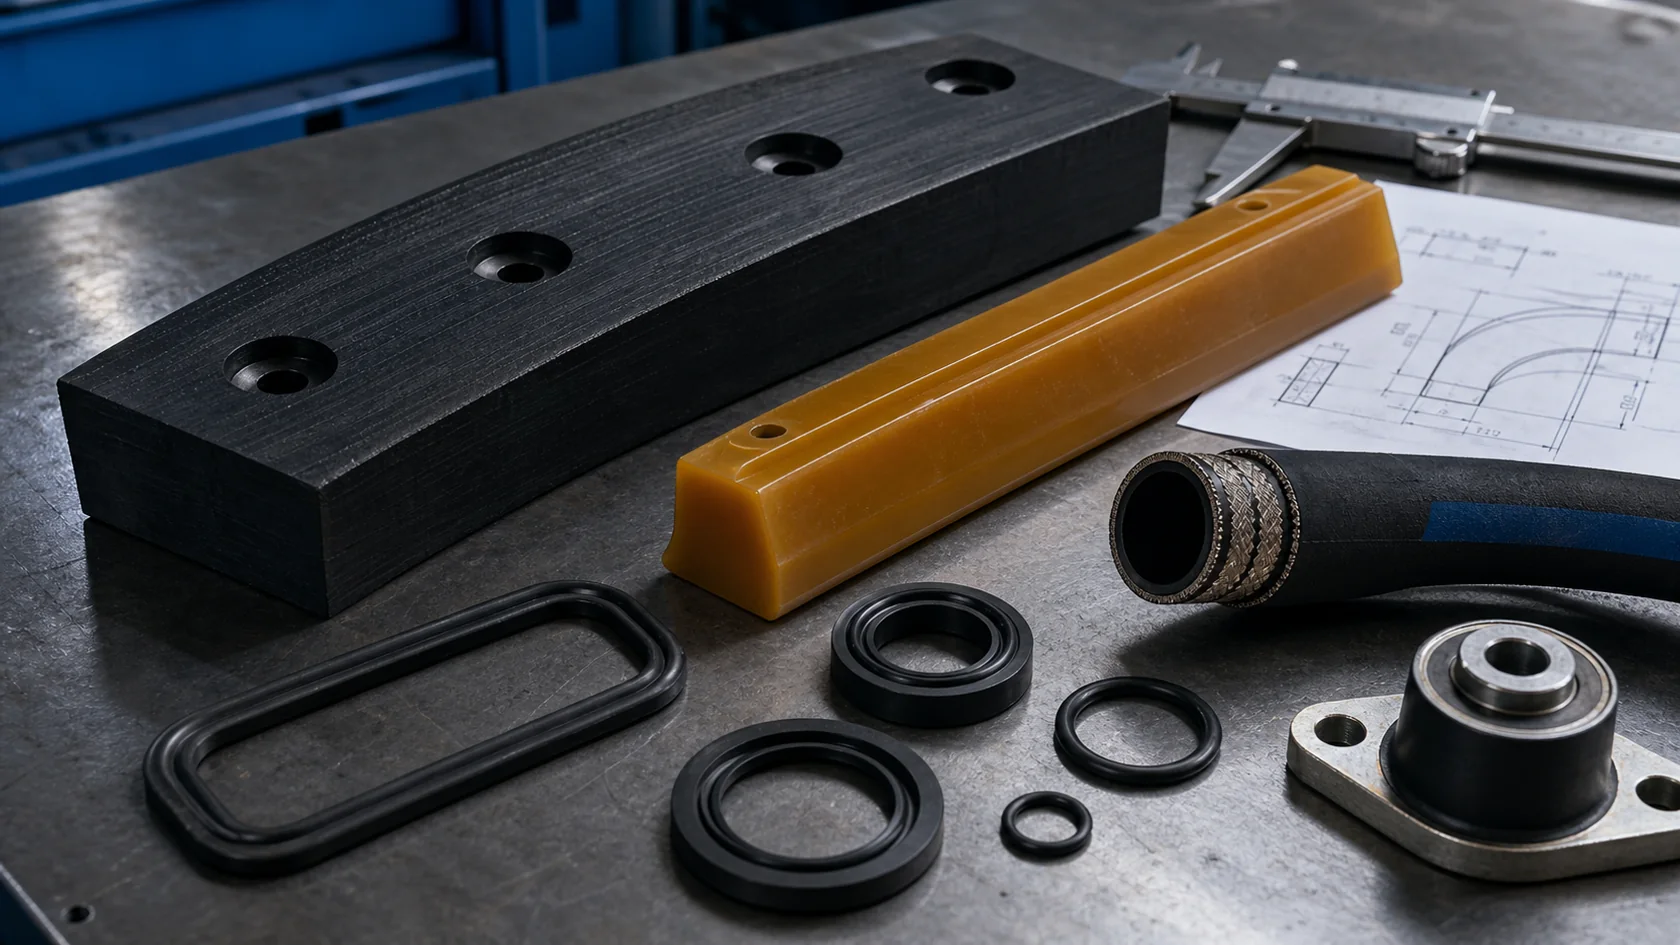
“Rubber part” or “polyurethane part” describes a material family, not a complete requirement. The same-looking component may seal, protect, scrape, isolate vibration, guide material or combine elastomer with metal reinforcement. Start by recording what the part does and what it fits; a part, photograph, simple sketch or sample can begin the review.
This guide supports the Wear, Sealing & Flow Components product system and the preparation of a focused replacement enquiry.
1. Identify the component function
State whether the part provides sealing, abrasion protection, impact absorption, material control, vibration isolation or a flexible connection. Photograph the component installed before removal where practical. The equipment position often explains surfaces that cannot be understood from a loose sample.
2. Record the complete geometry
Measure overall length, width and thickness, then add the cross-section, hole centres, grooves, lips, tapers, radii, mounting surfaces and mating interfaces that determine fit. For molded profiles, a simple dimensioned section view may be more useful than a long list of overall dimensions.
Geometry record
- Overall envelope and units
- Cross-section at each change
- Hole, slot and insert positions
- Mounting and contact surfaces
- Metal backing, reinforcement or bonded inserts
- Which dimensions are critical to fit
3. Describe the operating duty
Record the material handled or surrounding medium, abrasion and impact, static or moving contact, movement range, temperature supplied by the equipment owner, and pressure or vacuum when relevant. For wear parts, mark the heaviest wear zone. For a seal, record where leakage occurred and whether the interface is static, reciprocating or rotating.
4. Preserve material information without guessing
If the existing compound, hardness or reinforcement is known from a drawing or reliable record, include it. If it is unknown, describe the application and send a sample when possible. Colour alone is not a reliable material identification method. Any proposed material should be connected to an agreed specification or offer basis.
5. Photograph failure evidence
Useful observations include localized abrasion, tearing, cracking, permanent deformation, swelling, debonding, insert movement, leakage or impact damage. Photograph the whole part, the damaged zone, the interface and a scale reference. This does not replace material analysis, but it helps separate a fit problem from a duty or construction question.
6. Agree how the replacement will be checked
Before production, decide which dimensions, material or hardness requirements, bonded features, appearance points and documentation matter to acceptance. A sample or first-article review may be appropriate for a new mold or uncertain replacement. Inspection depth should follow product risk, not a generic checklist.
One complete part photograph, one installed-context photograph, a dimensioned sketch, the duty description, observed failure, quantity, destination and timing usually create a productive first review.
Public technical references
- Parker O-Ring Handbook — static and dynamic sealing fundamentals, elastomer context and gland geometry.
- Parker Seal Solutions Guide — application-led sealing research and test-procedure context.
The references explain general sealing principles. Material, geometry, performance and suitability remain specific to the component and application.